Happy Tuesday! Let me just say this was a failed attempt at a tutorial blog. Reason being, we did this project in the last summer and early fall. As we went along I took pictures step by step but unfortunately I lost every single one of them and only have the ones that I took at the end which makes absolutely NO since. So here is my best effort without all the pictures!
Its been a long holiday weekend for Mitchell and Jim. Jim is back at work today, Mitchell is off till tomorrow. Jim mainly works from home so he is technically back but still here! They are calling for snow so of course Mitchell is praying for a snow...
Last spring we decided to put the house on the market as we wanted a bit smaller house and a little more land. Within a month or two the house didn't sell and we were realizing everything we liked was either, NOT much smaller if any, or just not what we wanted! We decided after much thought to do some upgrades to the house and stay! I LOVE our house so I was happy! We did get some ideas on what we wanted to do to improve some things.
We loved some of the older homes that had the original moldings and such. One of the houses had a dining room with the most beautiful board and batten! I would have bought the house for that alone! We decided that was the first project we wanted to tackle in our house.
First I started researching the different heights, widths, and reasons for the various ones. We wanted a more traditional look. Second, I took a long time looking for the overall "look" we were looking for. Then the color I wanted to paint for the walls that was both light and airy but still had a traditional edge. Jim had decided he wanted to do it himself as he wanted it done right and didn't want to pay someone a fortune to do what he could...such a man! I knew with him working 40+++ hours a week it would take a while! YIKES, I am not one to like to wait for things!
In some of the tutorials they made it out to be a fast cheap project, but to do it right and with the look I wanted it wasn't fast but with Jim doing it was an expensive improvement! So after deciding on what wood we would use, the paint color and overall spacing of the boards we were set to go!
First I started with the painting. I decided to go with a Benjamin Moore Color, Stone White. It is a very light grayish blue but NOT white. I used Sherwin Williams, Emerald Paint, with a Matt finish. This paint is super thick so pretty much no dripping and it covers wonderfully. It is quite pricey per gallon but is worth it! I have tried many other brands of paint but Sherwin Williams is my favorite and he best!
 |
| Looks greenish here but isn't |
Once I was done painting the walls it was time to start measuring for the boards for the board and batten. Its tricky because every board needs to be straight. HAS to be straight and most evenly spread apart. We decided to make it 54 inches tall and the space between each board an average of 12 inches give or take depending on were it was spaced and low big the wall was etc. Jim is a master at this since he is a very detailed oriented person not to mention engineer! The boards we used were a composite type recycled condensed paper. I know it seems weird but that's what it was. Another decision we needed to make was what size boards we would use width wise. Its crazy the possibilities. We went with a larger width on the top 31/2 inches. For the vertical ones we used 21/2 inches and at the bottom running on top the molding we used 11/2. We played around with the different sizes to see what was the most eye pleasing for us.

We put the bottom boards up first, then the top boards. When they were up, we had to carefully cut, measure and place the vertical boards. This was super time consuming because there areas that don't follow the pattern, then you have to come up with a plan on how to deal with them. Like under the windows, around sockets and air vents, in corners, etc.
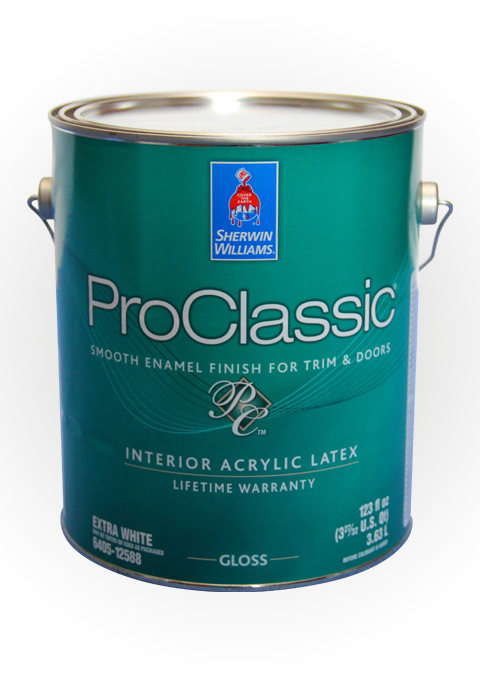
When that was all done, it was time to paint the board and batten area. That included the new boards and the wall which was still the original yellowish color. Its important in this step to get a very good paint that is especially for doors and moldings as you want the wall and boards to look the same. Once again I used a Sherwin Williams Paint called Pro Classic. It is a hard enamel paint that comes in Satin, Semi-gloss or gloss. I used semi-gloss and it turned out amazing.
 |
| Add caption |
The entire project including paint, wood, glue cost around $300. I'm sure we saved over $1000 just in labor as it was a time consuming project but so worth the results. I LOVE how the entire room turned out, its exactly how I had pictured it and how the look I wanted.


The next project is to install a new wood floor in the family room. We are hoping to do this within the next month and once again Jim is planning on doing it. Stayed tuned for that project!


